|
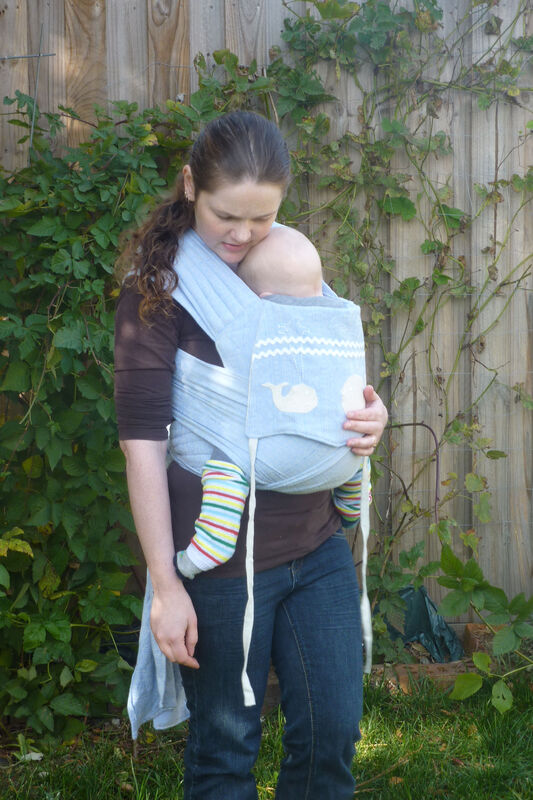
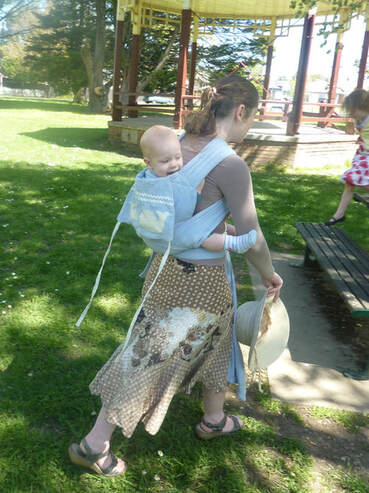
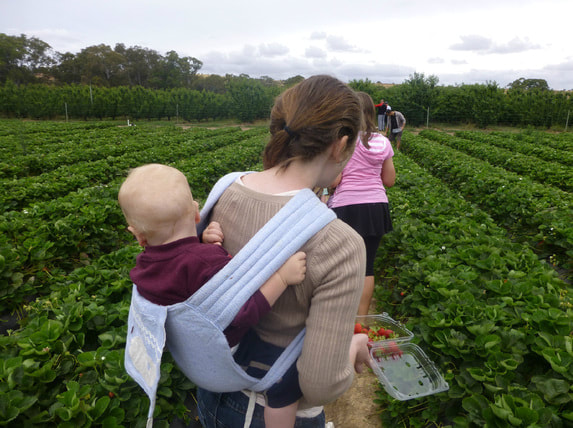
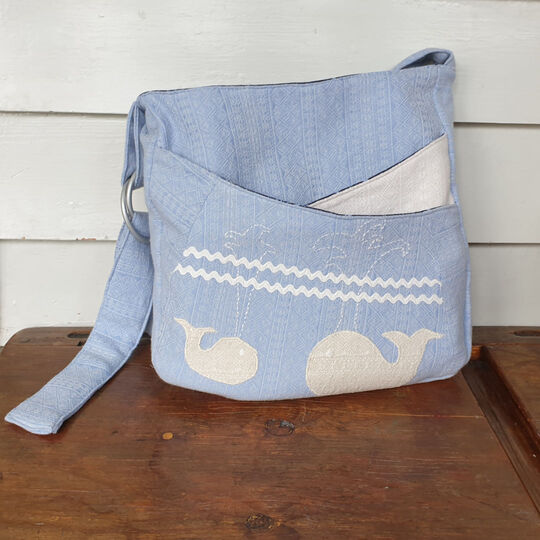
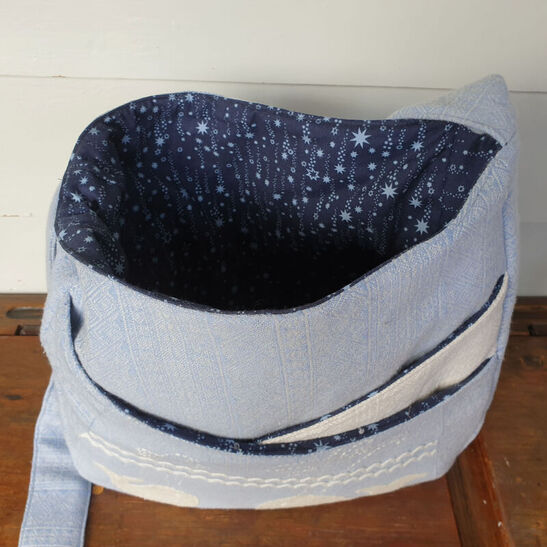
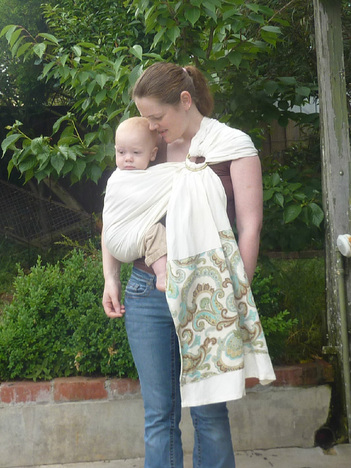
I made a whale meh dai over 9 years ago. It was one of my favourites, made from a Didymos Eisblau which is a gorgeous cotton, wool and silk blend. Now that my youngest child is 10 it seemed a shame to have it lying around unused and why buy new fabric to make a bag when there is lovely fabric that could be repurposed? I made a bag for my sisters birthday a few years ago (it was the first bag I made) and she was very happy with it so I decided to make another for myself. The pattern I used is the Shine on Sling Bag by Little Moo Designs. The bag has a ring closure on the strap and a zipper pocket inside. This is the first time I have made a bag with wrap fabric and the fabric is quite thick so next time I think I'll change some of the interfacing as it made the seams quite bulky. I lined it in some dark blue starry fabric. I had to piece the feature pocket as there wasn't enough fabric in the hood to fit, but I quite like the effect. I also had to add some extra fabric for the other crossover front pocket as there wasn't quite enough fabric in the carrier. Overall I am quite pleased with it. It's sturdy and the shoulder strap is quite cushy so will be great for carrying my library books. I'm glad this carrier has a new lease of life (which is white I love about upcycling). This carrier has gone on lost of adventures with us including to Anakie fairy park and strawberry picking! And now it will accompany me on new adventures as a bag.
0 Comments
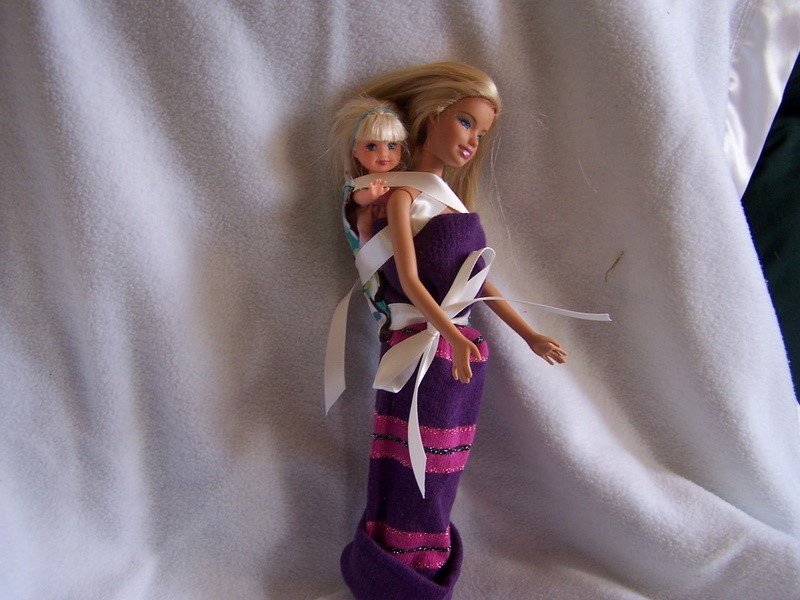
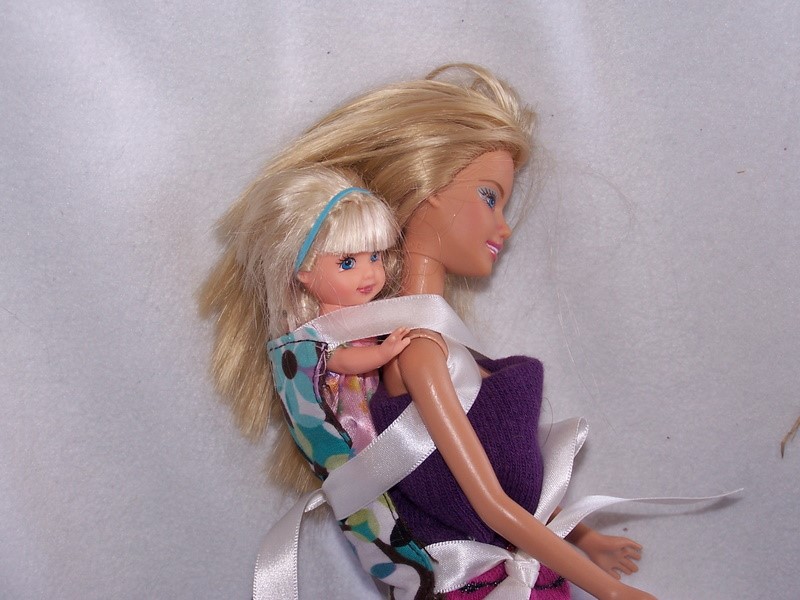
This pattern includes adjustable pouch with curved seam, non-adjustable pouch, ring sling with optional pocket in the tail and ideas for embellishments, and a mei tai/meh dai). Don't have time to make your own?Buckle doll carriers are available to purchase in my shop. Need any help or want to show off your creations? Join my Facebook chatter group here https://www.facebook.com/groups/1374361185941904/
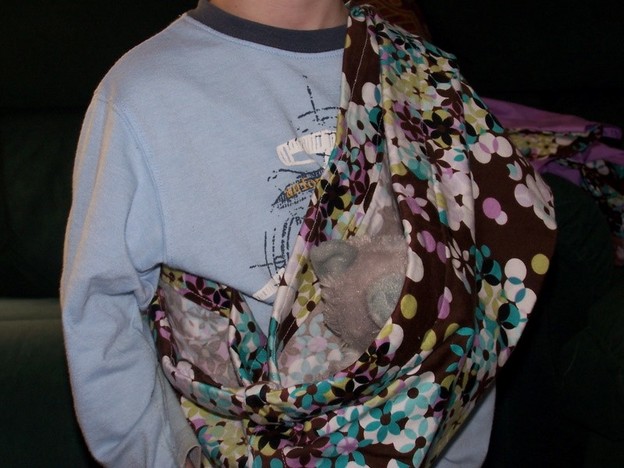
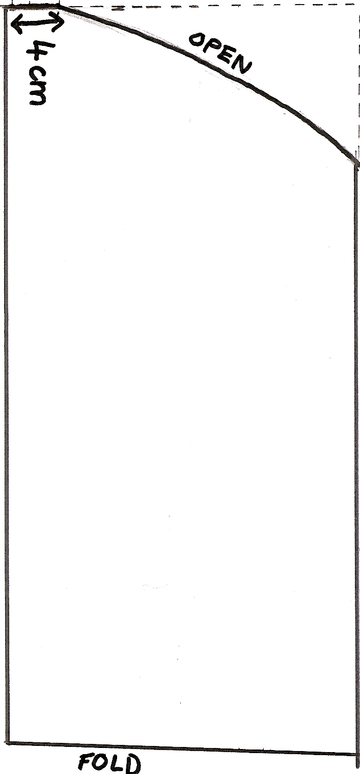
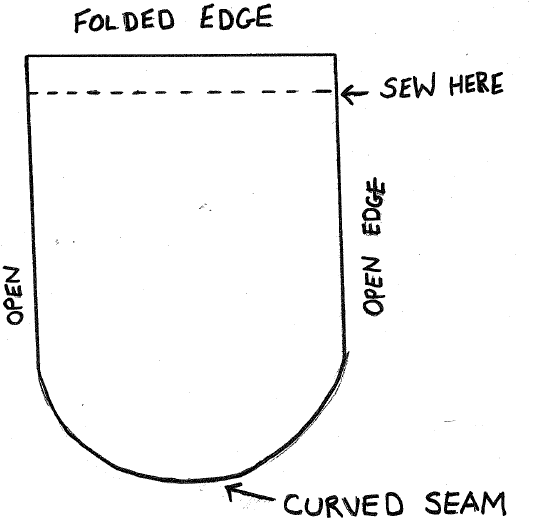
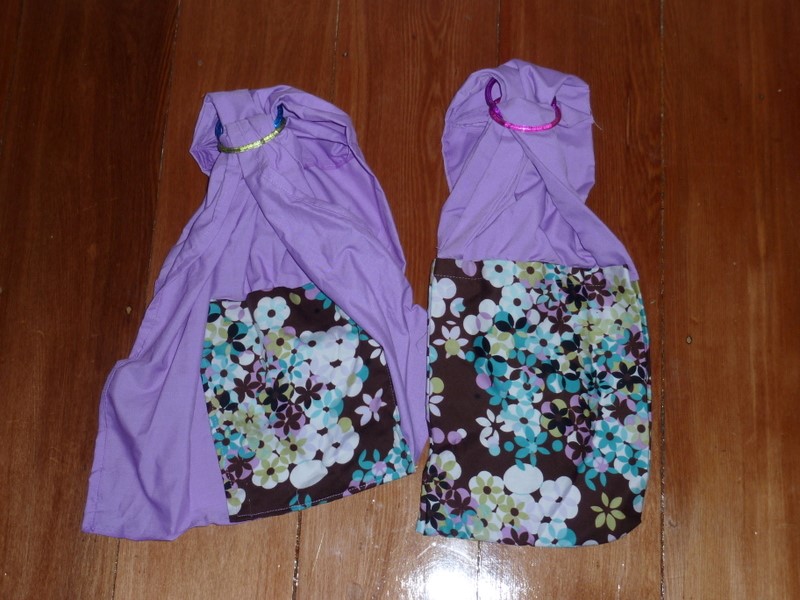
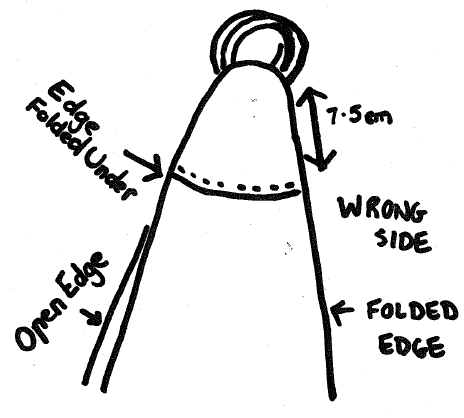
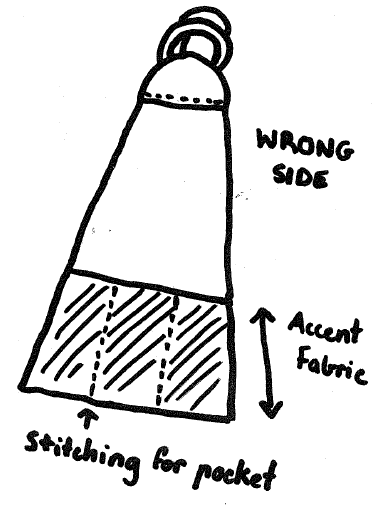
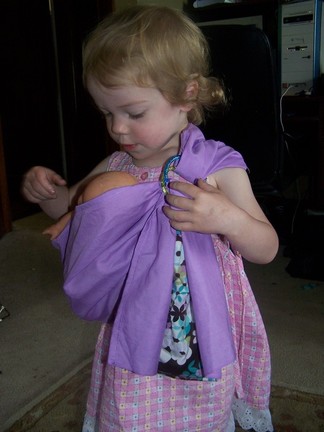
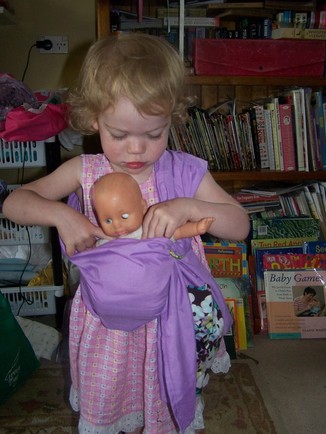
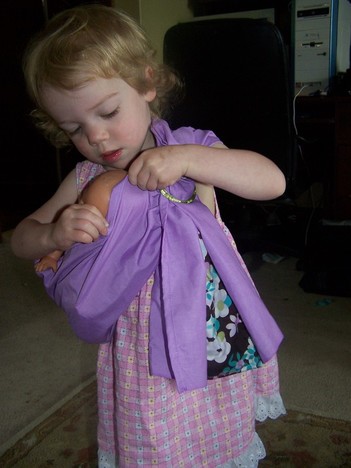
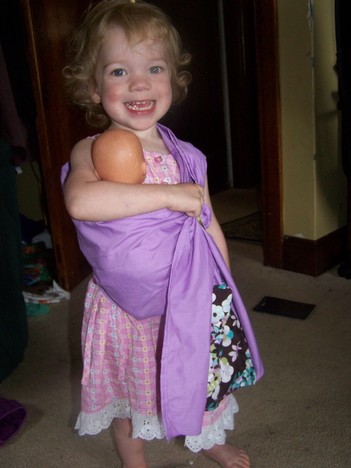
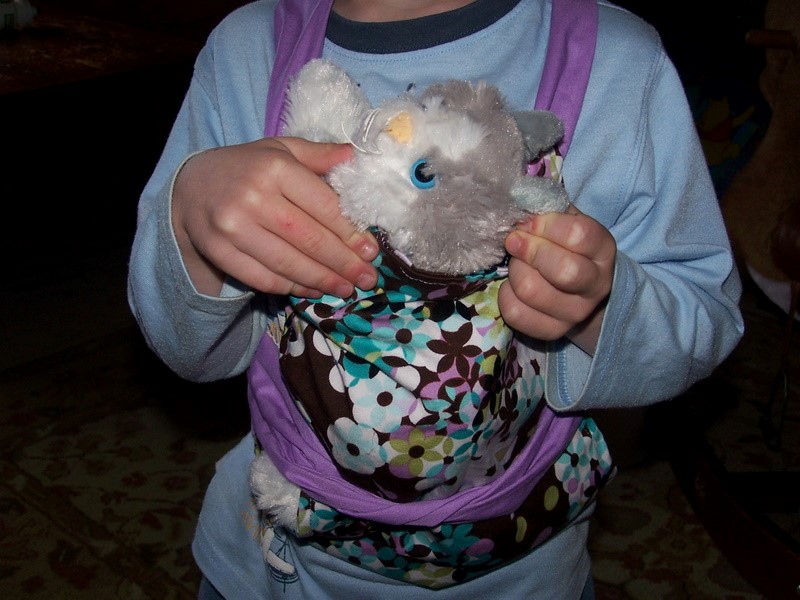
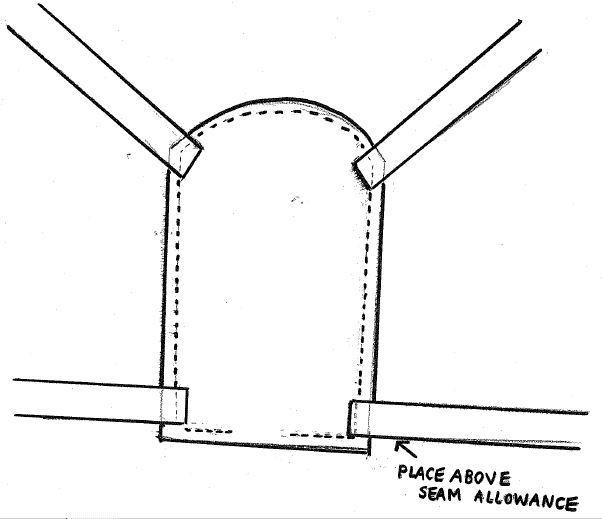
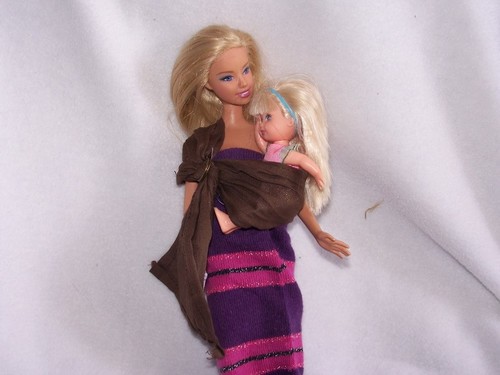
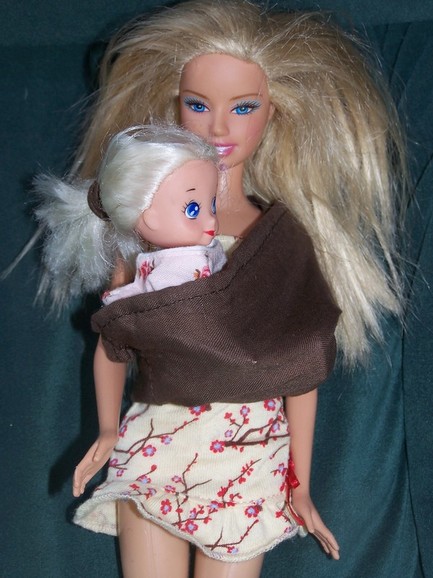
Child Sized Pouch With Curved SeamNon-adjustable Pouch Material needed –toddler 43cm x 89cm - preschooler 43cm x 101.5cm - primary schooler 43cm x 112cm For a narrower width pouch suitable for small dolls only - cut to a 35.5cm width For a pouch that will fit your child exactly, measure your child from the edge of their shoulder to the outside edge of their hip. Double this measurement and add 10cm. Add a few inches to this to allow for growth if desired. 1/ Fold material in half widthwise and lengthwise. Measure 5cm from the top end, then measure 4cm along the short open end – draw a gentle cure between these points. 2/ Open out the material. There should be a gentle curve or ‘smile’, on both ends. Right sides together sew the ‘smiles’ together. You can finish your sling now or sew a French seam (an enclosed seam) for a neater finish but it is not necessary unless you are making a reversible pouch. 3/ To make a French seam. After sewing the ‘smiles’ together, fold the seam over so the raw edge is enclosed and sew. This will leave an enclosed flap of material sticking out, sew this down to the sling carefully. 4/ Fold pouch in half lengthwise, creating a loop of fabric with one open side, this is where the doll will sit. You’re done! Adjustable Pouch This pouch will fit a child across all the size ranges given so you don’t need to make a new pouch as your child grows. If you wish to make it longer (i.e. to fit an older primary schooler) add more to the length and add more strips of Velcro spacing them as per the instructions below. You will need 45cm of 15mm wide Velcro for the basic pouch. Cut material to 43cm x 122cm, then follow steps 1-4 above. 1/ Cut across the top of the pouch where it is folded, opposite the curved seam. 2/ Turn the sling inside out and right sides together sew across each open end. Turn right side out. Your sling will look like this: 3/ You are now ready to add Velcro. Cut 3 strips, 15cm each. Sew the Velcro to the end of the sling 12mm from the top and 1.5 cm from the folded end. Sew the Velcro to one layer of the pouch only, open out the pouch as you sew. This will give you a neater finish. Sew the velcro strips to the sling 4cm apart. Repeat on the other edge of the sling making sure you sew on the correct side so the velcro will overlap when the sling is worn. Cutting down and unused adult sized pouch to fit a child 1/ Turn the edges of the pouch under 4 cm and sew 2/ Use the above measurements from the doll pouch pattern, or adjustable pouch pattern or measure your child as described. 3/ Open out the sling so there is two layers only with the wrong side facing out. Measure out the size needed and pin or tack the sling along the top flat folded edge. 4/ Try the sling on your child. If it is correct sew across the top edge. You can cut off the excess fabric or when you turn the sling right side out, tuck the flap or extra material created underneath (or sew it down). You can let out this seam as your child grows. The wider width sling is on the left. Both have pockets (the one on the right going across the whole width) and were made using child sized plastic bracelets for the rings. (note: the bracelets broke after a few years of light use so for a longer lasting sling you may want to use aluminum sling rings) Fabric needed: 35.5cm width for small dolls and 51cm for larger dolls. Length - 130cm for toddler - 141.5cm for preschooler - 152.5cm for older child or alternatively drape a tape measure completely around your child’s body (shoulder to hip and let the edge of the tape hand down to where you want the tail to end, and use this measurement). You can also make the sling a longer length than you think you will need, then try the sling on your child, then cut and hem to the correct length. (note: a tail longer than your child’s knees may be a tripping hazard). Sling Rings – Use child sized plastic bracelets (the ones I used were 5.5cm in diameter). You can also buy thin metal rings around this size from craft shops or alternatively you can purchase small size sling rings from slingrings.com which come in a great range of colours. 1/ Hem the long edges or your fabric. 2/ Fold and press one short edge down 12mm (not necessary for a reversible sling) 3/ Fold the sling in half lengthwise. This will create a pouch like pocket for the doll to lie in. The sling can be used on both shoulders but to switch shoulders you will need to rethread it so the open sides of the ‘pocket’ are towards your child’s neck. 4/ Measure and mark (15cm) across the top short edge. 5/ Gather the top edge in your hands and thread through the center of both rings. Pull the material through until you reach the measurement you marked earlier, then pin and sew along this line. 6/. You will now have a long piece of fabric with rings on the end. Thread the sling by gathering the short straight end, then threading it over one ring and under the other like a belt buckle. 7/ Try the sling on your child. Cut and hem to the desired length. Tip: One sling I made was too short so I sewed a contrasting fabric to the end of the sling (hemmed), using twice as much length as I needed. Then I folded it up and sewed the edges together, leaving the top open, to make a pocket. Decorating your Sling/Adding Pockets Some ideas:
|
AuthorI love to sew. I have five curious and active kids who keep me busy! Archives
May 2024
|

 RSS Feed