|
I still love ring slings for my toddler. They are perfect for quick ups and downs around the house. I can put my son in a ring sling in seconds. My son is too busy to want a cuddle for long (unless he is tired or sick and then I bring out my mei tai). Rings slings are great if my toddler falls asleep in the car. It is much easier to pop him in a ring sling than to wrestle a sleepy, floppy toddler into a two shoulder carrier. It is perfect for visiting or unfamiliar places as my toddler can get comfortable for a little while in his new surroundings close to me, before hoping down to play and tear about as he usually does. Ring slings are perfect in any situation where my toddler needs a nap but I'll also be sitting down for a while (such as going to the cinema). Once my toddler is asleep I can loosen the ring sling until he is supported in my arms and lap and I am very comfortable When it's time to leave I just tighten up my sling and go without disturbing my sleepy baby at all. Timing visits to the movies at nap time is great! My toddler would never sit through a whole movie otherwise! When my son was around 18months old I had an hour long speech therapy lesson to go to with my four year old. My toddler slept through almost the whole session cuddled in my ring sling, waking towards the end and after a quick feed which left him bright and happy and ready for a short play until it was time to leave again - in the ring sling of course - ideal for crossing a very busy road back to the car. My toddler is almost two and is still a little small to walk beside me without darting off but in the future it will be great to bring with me to rest his legs if he gets tired walking with his older siblings to school. And in the meantime it keeps him safe on the short walk to pick up big sister from Kinder. 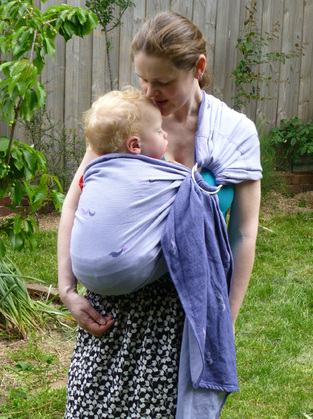 Ring slings also my a handy spot to lie my toddler down for a nappy change and makes a great emergency blanket. I love wrap conversions for toddlers (although double silk or linen is great too). My favourite toddler sling in Vatanai Perito (pictured below) because it's thick, cushy and molds to my shoulder so well. Plus it's pretty! I wore my toddler for an hour recently and it felt great. I love my Didymos burgundy Pfau too just as much as it is also lovely and cushy. An ideal wrap for an older baby or toddler is one in which you would comfortable use is a single layer carry i.e. nothing too thin (but thin and dense can be good. I love my Ellevill Zara ring sling almost as much). 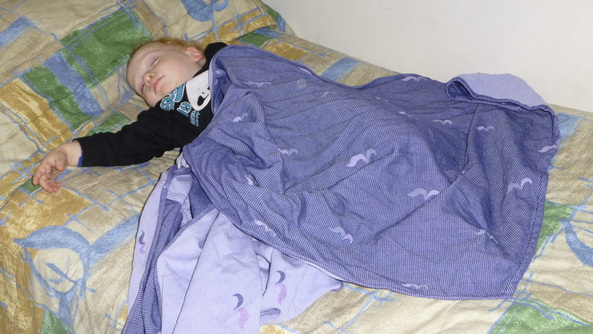
0 Comments
 The Expo. Lots to see! 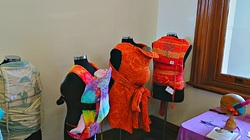 The handmade carrier stall. The orange pfaux pfau pod is mine. :)  My wearee and his big sister. Their favourite part of the conference was running around the courtyard! 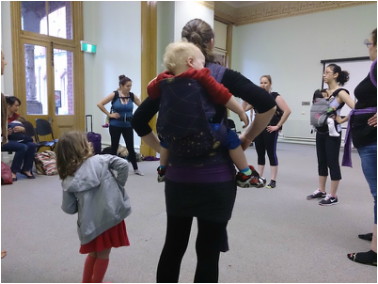 Kangatraining class. This was really fun. I thoght my toddler might be too heavy to exercise with him on my back but it was fine. Big sister had fun too. 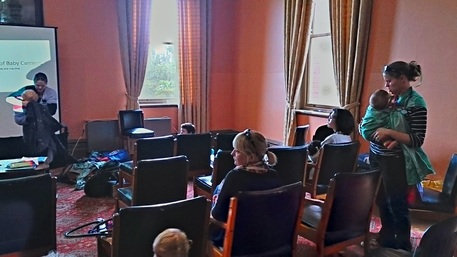 My presentation on carrier construction. My toddler was tired so the only was to get my talk finished was to sling and feed him while I spoke! For those of you intersted in my talk. Here are the main points and a list of DIY resources too.
My white and blue elves are now purple! It was quite easy to dye and I'm very happy with the colour I didn't find this as comfortable as my other two full buckles but got it out recently and it was so comfy. It must not have been adjusted quite right before. Full buckles can take a bit of tweaking the adjustment of the straps to get a great fit and they feel fantastic to wear when that's right. This is a standard size carrier and my son is nineteen months. Here are some tips for adjusting your full buckle for a good fit. Experiment to see where the best spot for the placement of the waist belt is for you. Some people like to wear the carrier on their hips (top of your hip bones) and some on their waist. Wearing closer to your hips will take more weight off your shoulders and onto the waist belt. On the other hand some people find having baby's weight up higher feels more comfortable for them Don't forget to bounce your baby down into the carrier to get a good seat. If you find the webbing is rubbing under your arm the shoulder straps are likely too tight. Loosen them a little and moving your chest strap to a different spot may help too.   Flared Straps are my version of padded to wrap straps. Straps that start off with a padded section and then flare out to a wrap strap. They are most often found on wrap conversions but this style of strap can also be found on mei tais made from cotton duck or linen. You can tie the straps in all the ways shown in my insturctions but you can also spread them across baby's bum for additional support. It's very easy to do! Follow these steps for nicely spread out and tensioned straps every time. Put your carrier on and get your baby onto your back using your preferred method. I like to hip scoot. I am using a half buckle in this demonstration. Clip the waist belt on and let the carrier hang behind you. Hold your baby on your hip, then scoot your baby around to your back. Using the straps pull the body of the carrier over your baby. Keep on hand on baby until baby is secure. 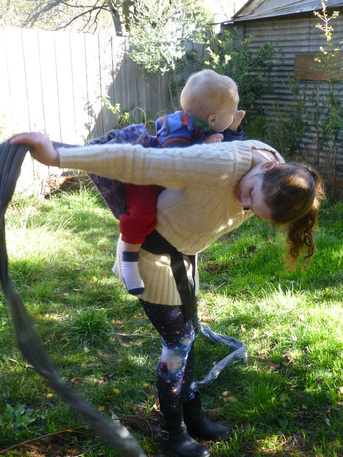 Pull your straps straight into the air and bounce a little (this seats your baby deeper into the carrier). 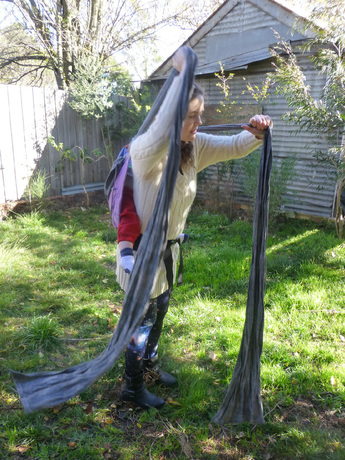 Bring the straps over your shoulders and pull them towards the floor. Hold one strap between your knees and bring the other over your arm and down to pass over baby's leg. 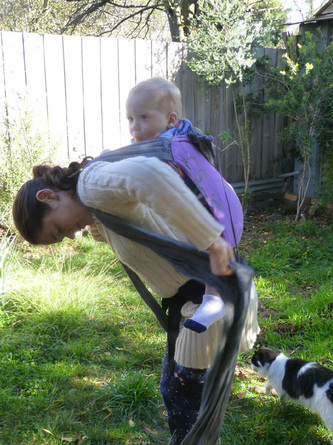 As you bring the strap over baby's leg hold it by the top edge and pass it across baby's leg and back keeping your arm and your top rail high. Pass the top rail to your opposite hand. 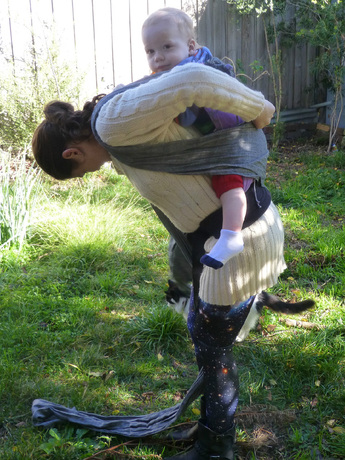 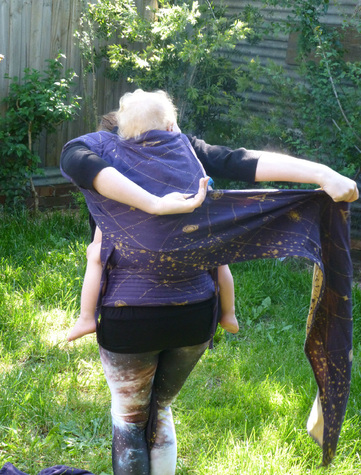 Pass the strap over baby's leg keeping it spread out. Lift baby's leg over the rail so the strap is now bunched under baby's legs. If you skip this step and only pass the strap under you will loose tension. 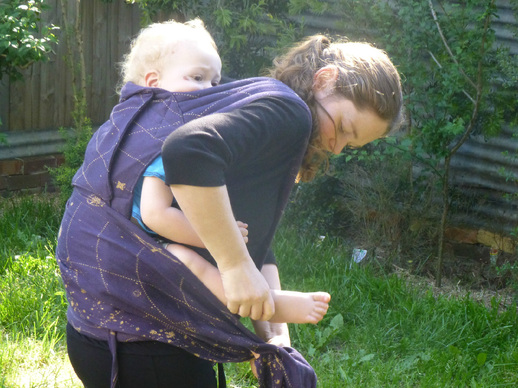 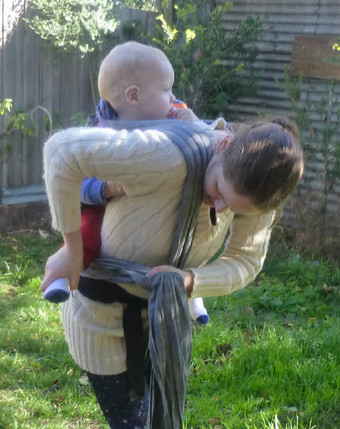 Repeat for the other side and tie in front. 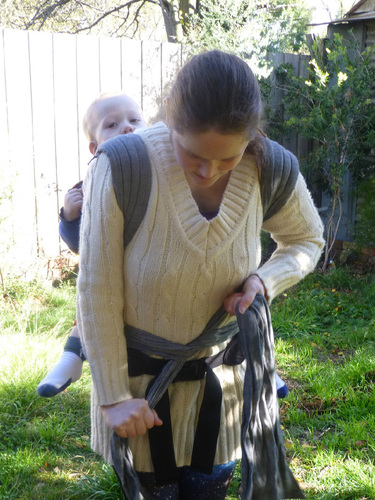 All done!. 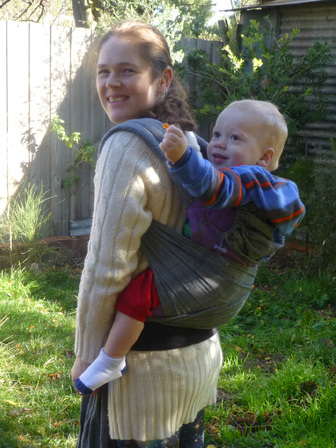 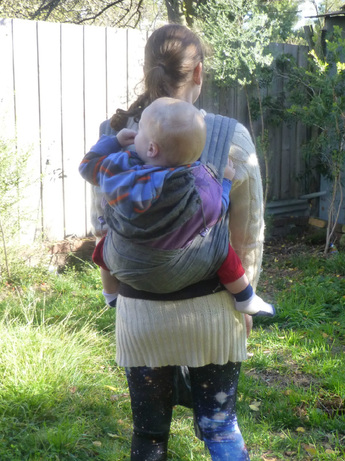 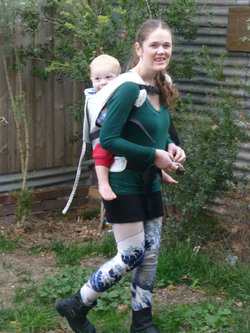 Here is a full buckle I made recently. I decided to acid dye it with food colouring after I made it as the wrap is a silk blend from Natibaby previously dyed and the gray elves were hard to see. I had never acid dyed anything before and I only succeeded it making them light blue. I think they look pretty even if the elves are still hard to see! Not sure I want to try for a darker colour as it look 6 washes to get the excess food colouring out as I used way too much. I'll think I'll look for some more detailed instructions next time! 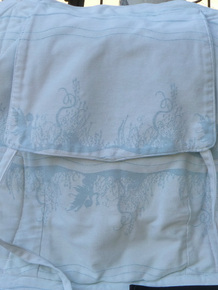 We live 5 minutes away from Sovereign Hill (a historical park) so every few years we go and get a family portrait. It's really fun. Sometimes we go for the day too and sometimes (like today) just for the photo (if you book just for the photo you are not charged an entry fee). Babywearing was useful for getting to the photographic rooms. 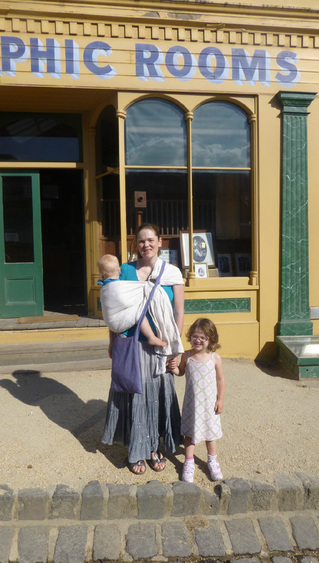 Fortunately the costumes are quick to put on - they all open at the back and have velcro tabs although you would never quess that by looking at the photos. Look at my gorgeous 1860's baby! 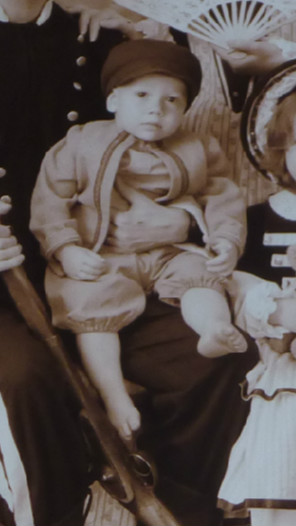 After the photo we head off to the Begonia Festival for a picnic and to check out the great children't activities there. The petting zoo was a big hit with my kids! We didn't stay as long as I liked because of the weather but my solarveil mei tai was great until it got too hot outdoors for all of us. I am hoping for better weather next year. 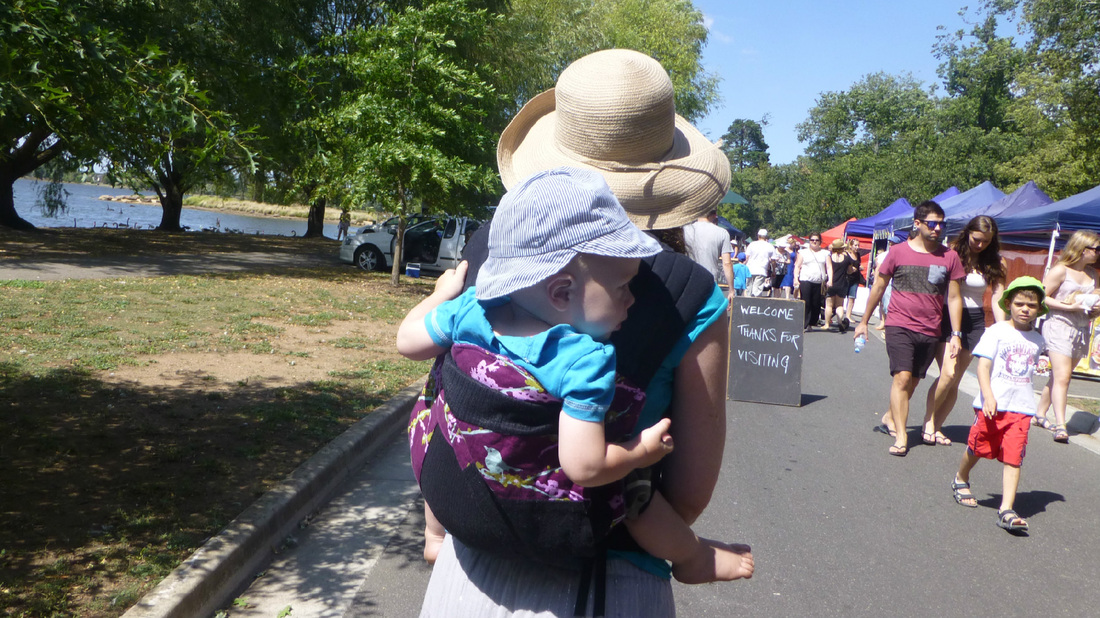 I finished making this full buckle yesterday. It's from a tablecloth (nicknamed Pfaux Pfau) which is popular in DIY circles because it feels very much like a wrap. It's a lovely material and it worked really well as a full buckle. I bought the smaller size tablecloth and have enough left over for a pod blanket. This is my favourite full buckle of the ones I have made so far. It has a padded waist which I prefer over the other style waists I have tried. The size is 17" X 17" so a petite toddler/inbetween size. The width of this is great for my toddler but he prefers arms out if he's not sleepy so it's a little tall for him (so it's a great excuse to make another one!) 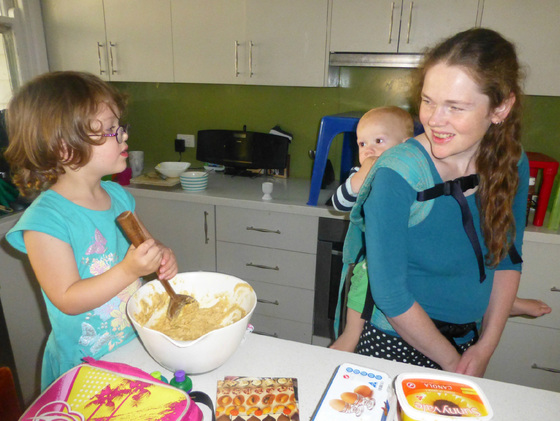 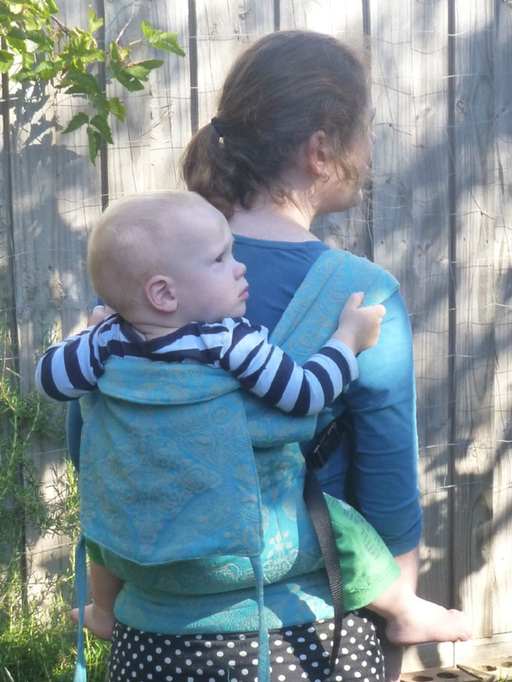 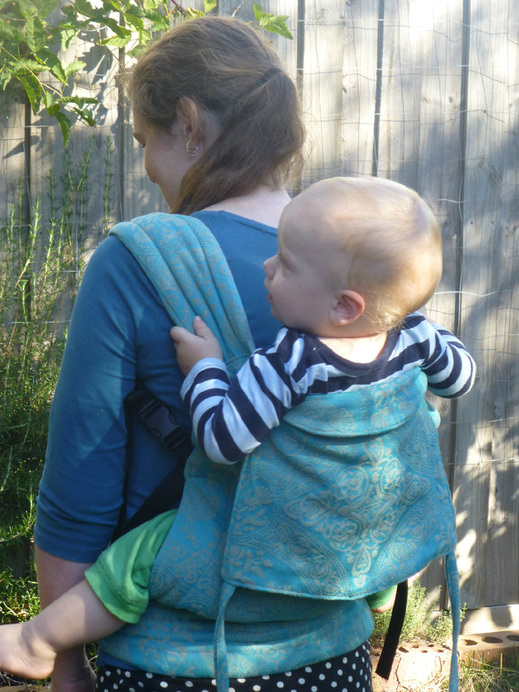 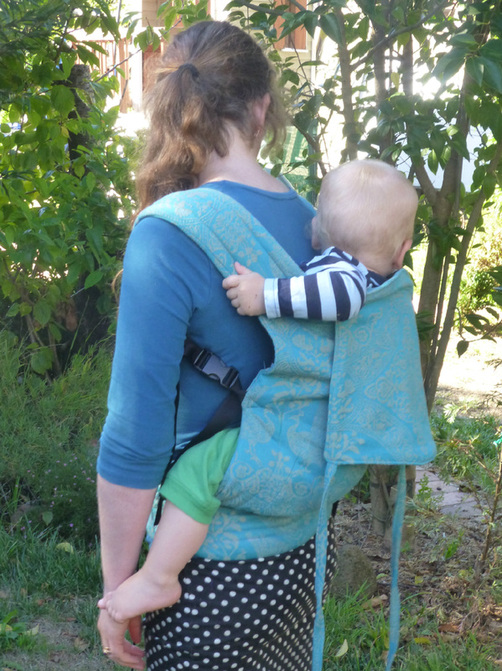  It's getting difficult to use my toddler as a sling model! The best place I have to take photos is outdoors and as soon as my soon feels the fresh air he wants to get down. He could spend all day exploring outdoors if he could! But it actually helps me to get more interesting photos as I have to keep him amused. Here my son is exploring a plum tree with me. I love the colour in this sling by the way. So tempted to keep it! There are more photos here. 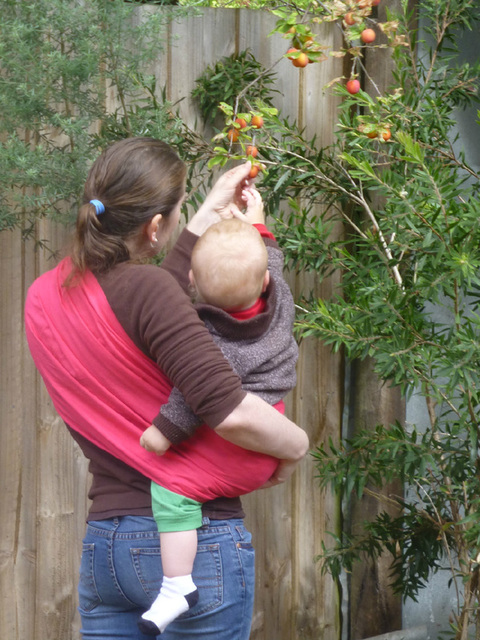
Here he is trying to flip out of the sling so he can get down. I'm glad he couldn't manage it. I had to let him have a play in the backyard after this though! 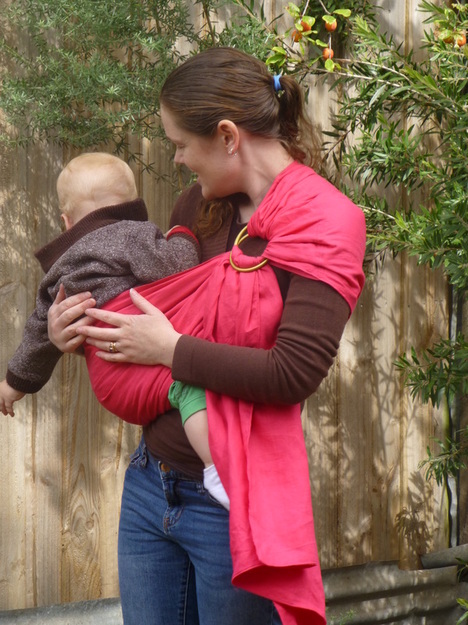
An angled strap pod feels a little different to wear than the straight strap version - it feels like a cross between a mei tai and a wrap (whereas the straight strap feels more like a wrap with training wheels to me). There are not as many tying positions as the straight straight (you can't do a torso carry for example) but some people prefer the feel of an angled strap in a rucksack carry so if that is mainly what you would like to use a pod for it's a good option. However it will tend to put more weight on your shoulders if not positioned correctly (higher is better), so if your shoulders are picky you may prefer a straight strap pod (for a torso carry option). Front Carry Hold your baby with one arm and place the carrier over your baby.  Bring the straps over your shoulders, cross them and bring them around to the front again over your baby's legs.  Cross the straps and bring them under your baby's legs and tie in back. Check that your baby is in a good seated position with knees higher that bum. 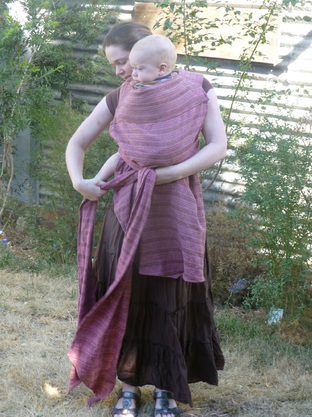 Done! 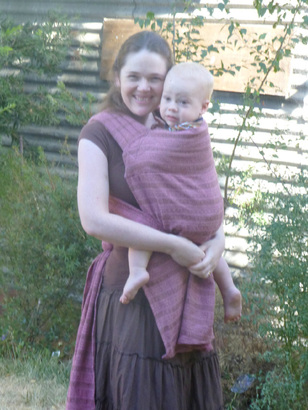 Back Carry This method shows a hip scoot which can be used with a baby who is sitting well. For smaller babies I like to use the santa toss method to get baby on my back. You can find instructions for this in the straight strap podaegi instructions. 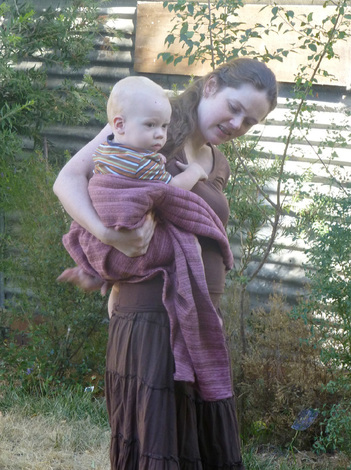 Put your baby on your hip and scoot your baby onto your back. 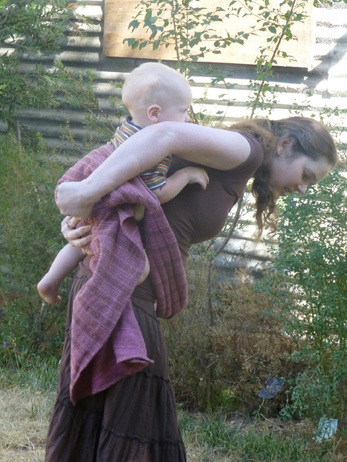 Pull the straps over your shoulders and pull one strap so there is no slack. Put the strap between your knees and repeat for the other side. 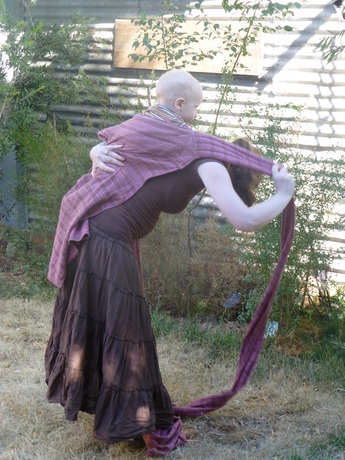 Tuck some of the podegi blanket under your baby's bum and knees. 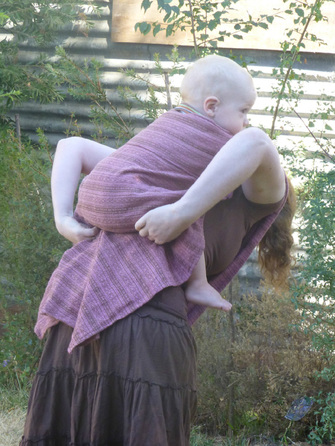 Bring the straps back behind you (or alternatively cross them over your chest). 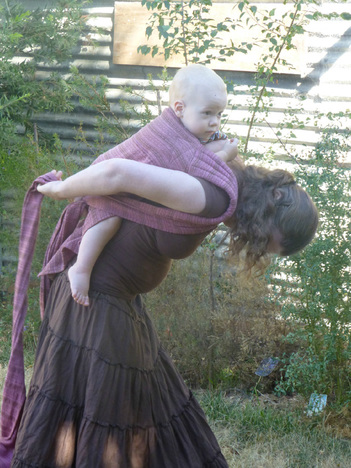 Cross the straps over and then under baby's legs and bring back around to the front. 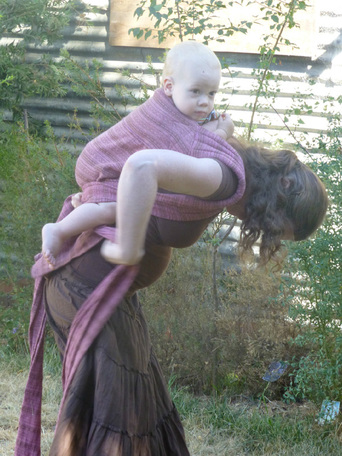 Tie in front or tie tibetan style (see next series of pictures). 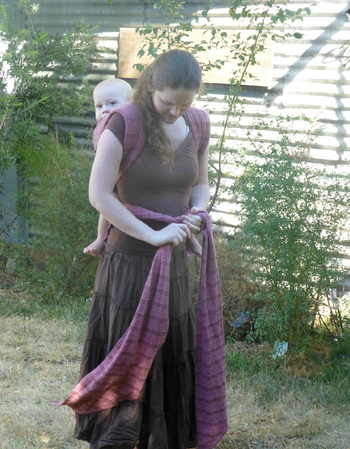 Tibetan variation: Hold one strap between your knees. Bring the other strap across your chest and under the shoulder strap. 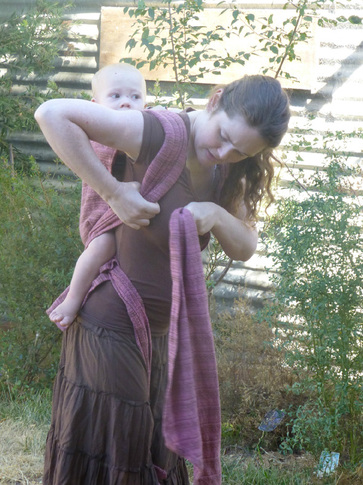 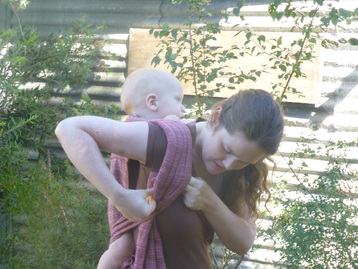 Repeat on the other side. 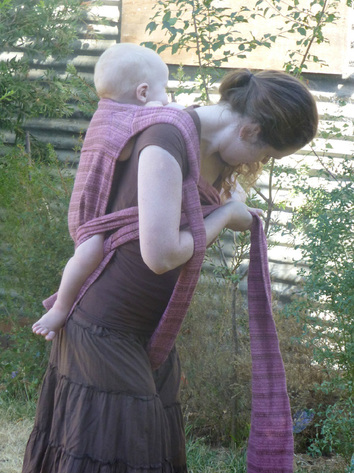 Pull both straps to get out any slack and tie in front with a square knot.    |
AuthorI love to sew. I have five curious and active kids who keep me busy! Archives
March 2024
|
||||

 RSS Feed